In this blog post we explore how to best to provision and manage applications with the highly performant and free-to-use Ephemeral OS Disks with Azure Virtual Desktop. Non-persistence can present challenges for IT Administrators. Coupled with dated practices, such as installing all applications into large images or locally installing applications when the machines boot, are inefficient and don’t provide the best user experience possible. By following this blog, you can utilize Cloudpager for the best possible application provisioning and performance along with Ephemeral OS Disks to save a significant amount of money on storage costs.
About Ephemeral Disks in Microsoft Azure
Microsoft introduced ephemeral disks to Azure in 2019. These disks are unique. They are completely FREE to use. Customers only pay for the compute costs of the machines utilizing the disks. The disks themselves are essentially disposable. You can reboot Virtual Machines (VMs) that have ephemeral disks and data will persist. However, you cannot stop or deallocate the VMs. You can only reimage or delete them, which means either keeping the VMs powered on 24/7 or deprovisioning and rebuilding them every day.
Unfortunately, only certain disks/VM sizes support ephemeral disks and you cannot resize VMs that use ephemeral disks. For a list of sizes that support ephemeral disks you can go to Virtual Machines in Azure, create a new virtual machine, and select a size then setup a filter for Ephemeral -> Supported. Due to the caching required when using an ephemeral disk, it requires at least 128GB of free space. Due to this requirement, you may find a VM size that shows supported will have the ephemeral option greyed out in the Azure portal as the VM won’t have enough free space for caching purposes.
It is important to note when using a Linux image from the gallery virtually any VM size will support ephemeral disks. With Windows, being that they are larger images, you will need to figure out which sizes will truly work with ephemeral disks. In my experience the medium to large sized VMs work.
While ephemeral disks being free to use is a major selling point, there is a lot more to them. These disks are also highly performant with lower read/write latency than other disks in Azure. Essentially, you will get an excellent user experience at a potentially low cost if managed correctly. To do so, you will need to account for the disposable nature of these VMs and persisting your user data and perhaps handling app deployments in a way that allows you to avoid complete reimaging of the VMs.
Setting up an Azure Virtual Desktop with an Ephemeral OS Disk
In this setup, I perform steps to get AVD hosts setup using Ephemeral OS disks. This could be achieved with automation to create at scale and you could also setup your own custom image to help streamline the setup further. For an example of using automation to create Azure images for provisioning Windows 365 Cloud PCs, check out this video. You could use similar methods for automating these steps too.
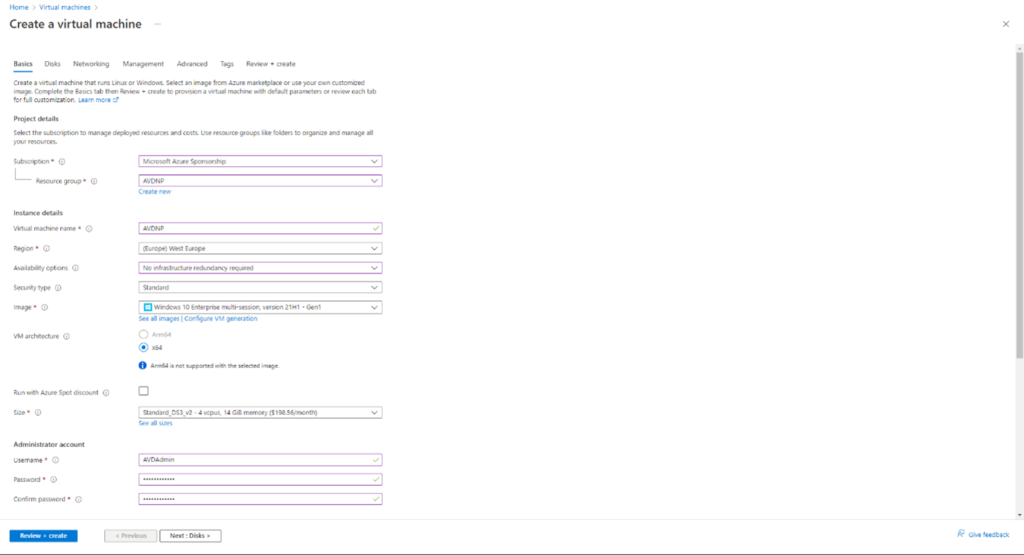
For a manual setup, I started by creating a new Virtual Machine in Azure. I selected the Windows 10 multi-session Gen1 image.
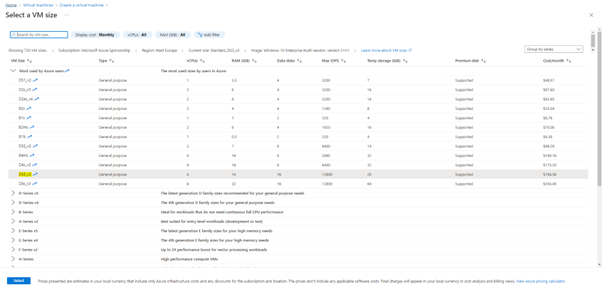
I changed the size to DS3_v2. This is a happy middle ground VM. It is 14GB so while it is for a multi-session desktop, it may not support many users. For your purposes, you may choose a larger VM.
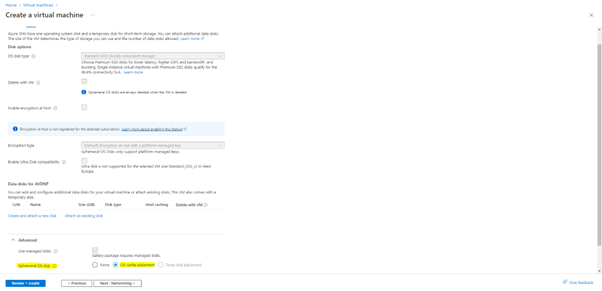
Next is Disks, I selected the Ephemeral OS disk and ensured the OS cache placement was selected.
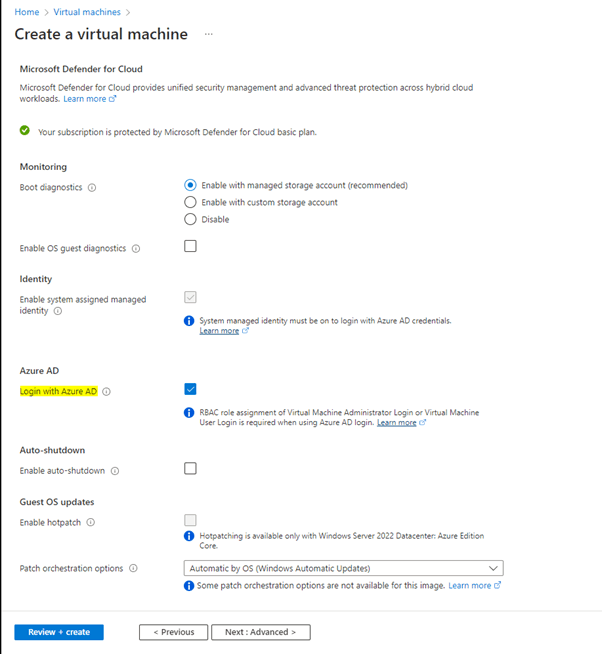
For my setup, I also checked the box to allow Logon with Azure AD. I accepted all other defaults and built the VM.
When the VM was up, I added an inbound rule to allow RDP access from my public IP address. I logged in with the local admin account I configured during the setup and installed Cloudpaging Player, Cloudpager Client and installed all Windows Updates. I held off on rebooting the VM and navigated back to Azure.
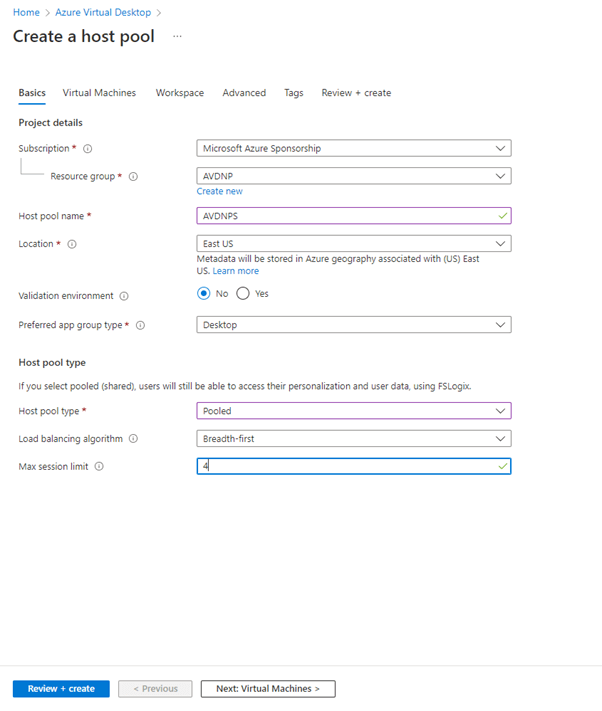
I navigated to Azure Virtual Desktop. Created a new host pool and selected Pooled and set a Max session limit to 4 users.
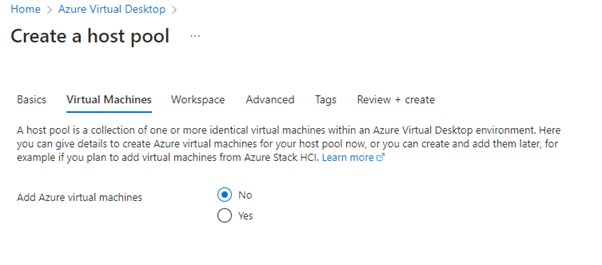
As is the case when doing a traditional custom image, I chose to not add any Azure virtual machines yet. After this step, I registered to a Workspace of my choice then accepted all other defaults and created the pool.

I navigated to my new host pool and selected Registration Key and generated a new key. I copied this into a text file to refer to later then went back to my open RDP session to the VM and opened a browser. I navigated to Create Azure Virtual Desktop host pool – Azure | Microsoft Docs and downloaded the RDS Infrastructure Agent and Bootloader installers. I chose to install the agent first.
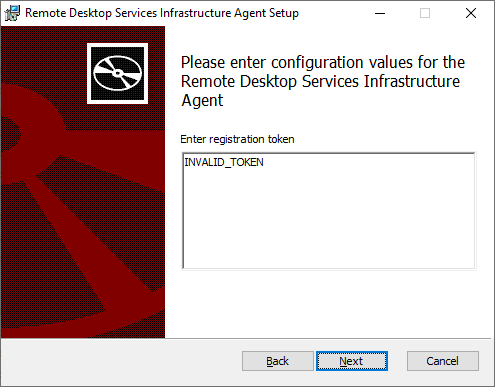
During the install. I copied the registration key that was generated and kept in my notepad then pasted it into this window and completed the install. Next, I installed the BootLoader and rebooted.
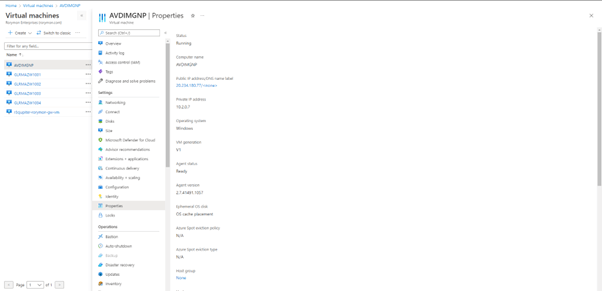
A few minutes after the reboot, I saw an available machine in the host pool.
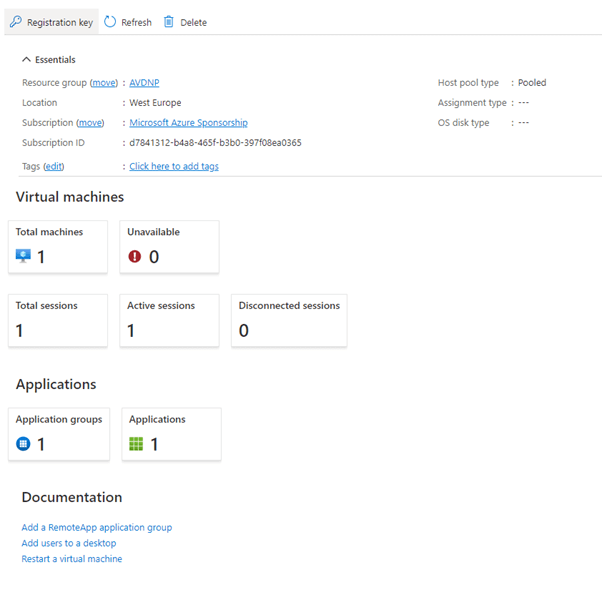
If you are trying this for your and you see the machine is Unavailable, just give it a couple of minutes and refresh.

Finally, I just assigned the Virtual Machine Administrator Login role at the VM level to my Admins group and assigned any users I wanted to provide access to the desktop the Virtual Machine User Login role.
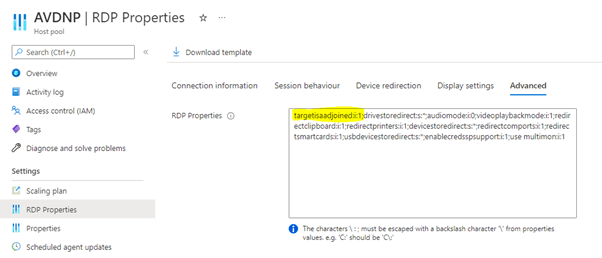
If you are completing these steps, you will also need to modify the RDP Properties at the host pool level to include: targetisaadjoined:i:1

Testing your Stateless Desktop

With the desktop ready, I could launch from Remote Desktop Client (you may not need to subscribe with your 365 credentials, if you haven’t already).
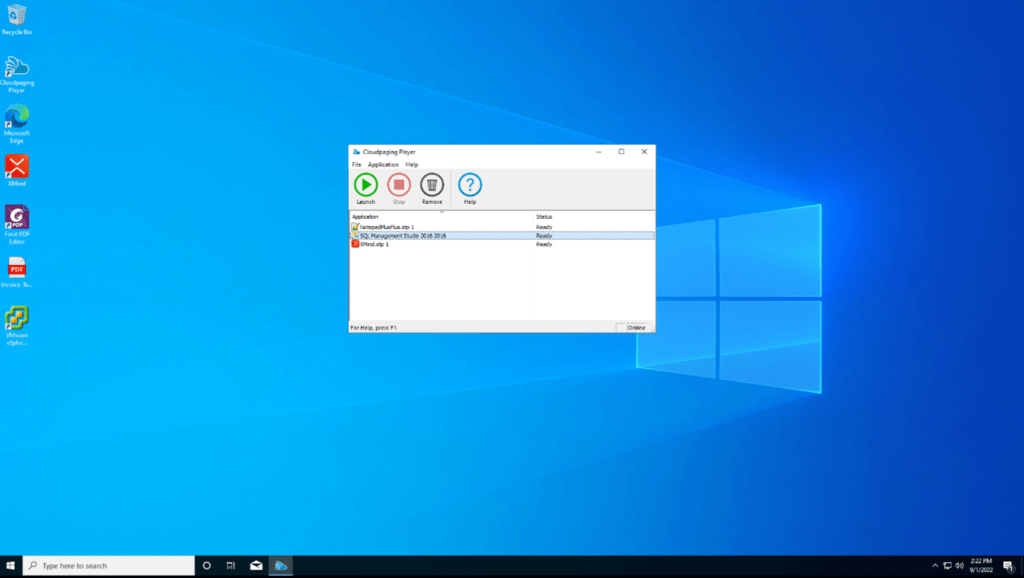
You can expect to be logged in quickly and everything should work well!
If you can’t login, RDP with your admin account account and check to ensure the AADJ was successful using this command: dsregcmd /status
If need be, you can disable the network level authentication setting in the RDP on the machine in question. You can also verify that your 365 account is in the Remote Desktop User group. You could also modify the RDP file from the VM to include:
enablecredsspsupport:i:0
authentication level:i:2
This will at least get you to the Windows login screen where you can test with AzureAD\Username@email.com.

If it still doesn’t work, you may need to try setting the PKU2U registry key’s AllowOnlineID value to 1 and/or create the Value.
Conclusion
While it is pretty cool to have such a high-performance disk that is completely free, I’m not sure ephemeral disk is for everyone. It makes a lot of sense for any multi-session AVD that needs to be online 24/7 but the compute costs may negate the cost savings on the disks for organizations of smaller scale and those who do not operate 24/7. Perhaps, this is a better use case when managing with an automated solution like Cycloud that provisions and deprovisions VMs elastically.
Numecent Cloudpager works beautifully with ephemeral disks. The high performance makes the user experience optimal and the fact Cloudpager can virtualize the applications on-demand means even if the VMs are reimaged or inadvertently destroyed, the apps will dynamically re-deliver on the new VMs with ephemeral disks and provide a required consistent experience.
For a video demo of the setup at work, check it out here: